By Andy Lopez
9 Easy DIY Steps To Fix Your Leaky Skylight On Your Commercial Roof
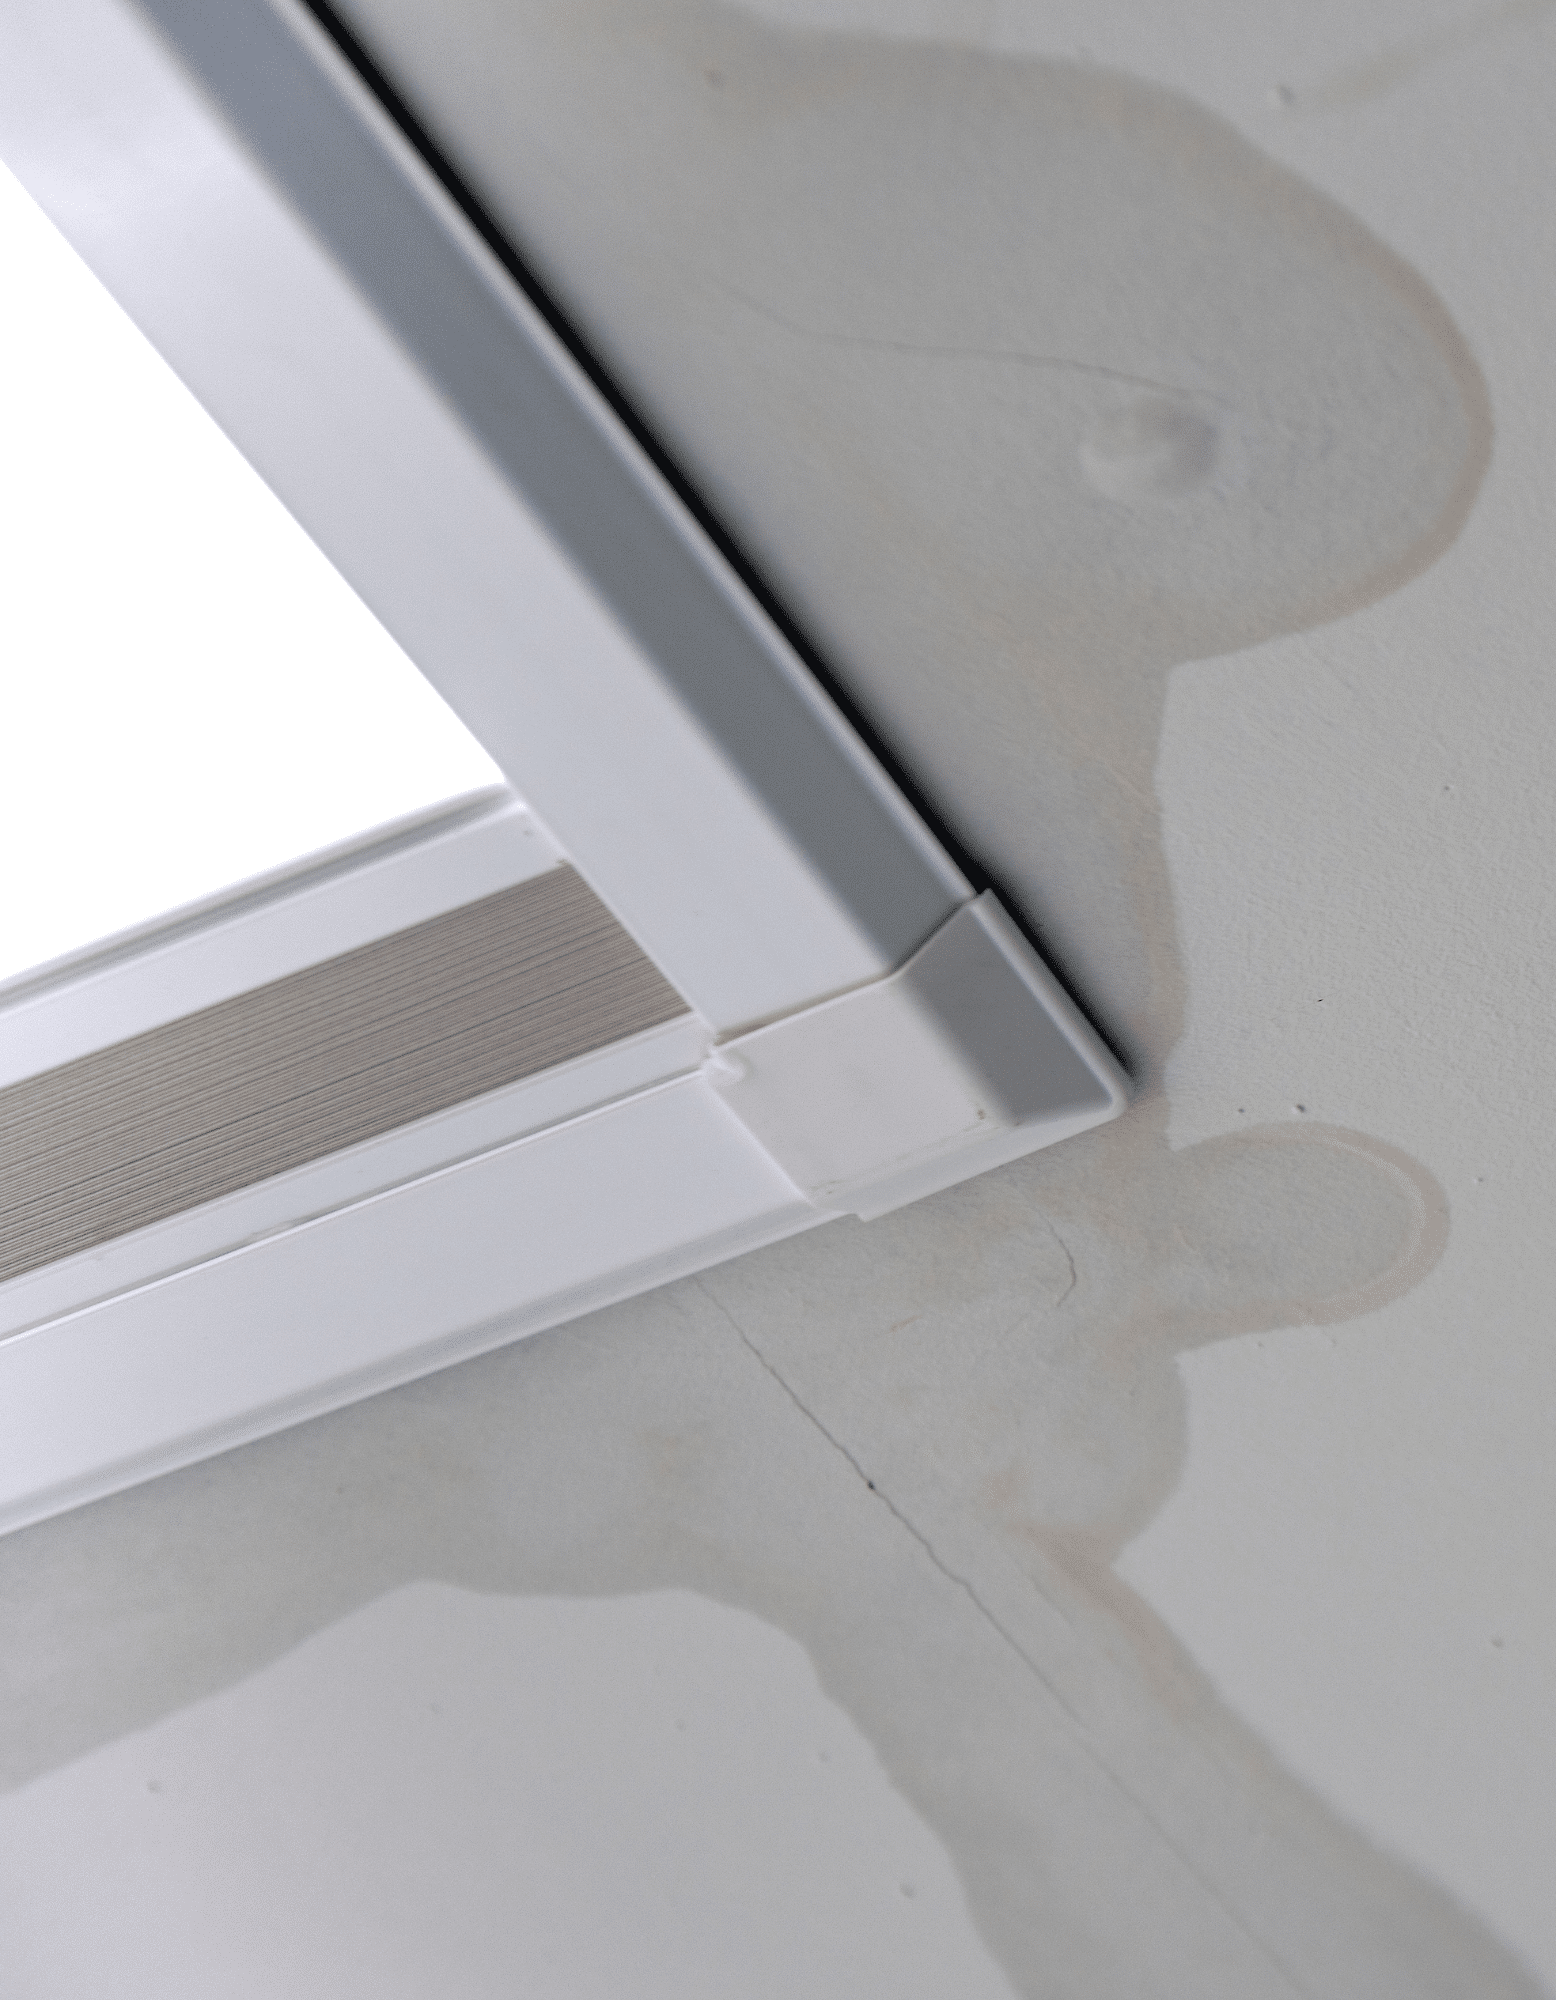
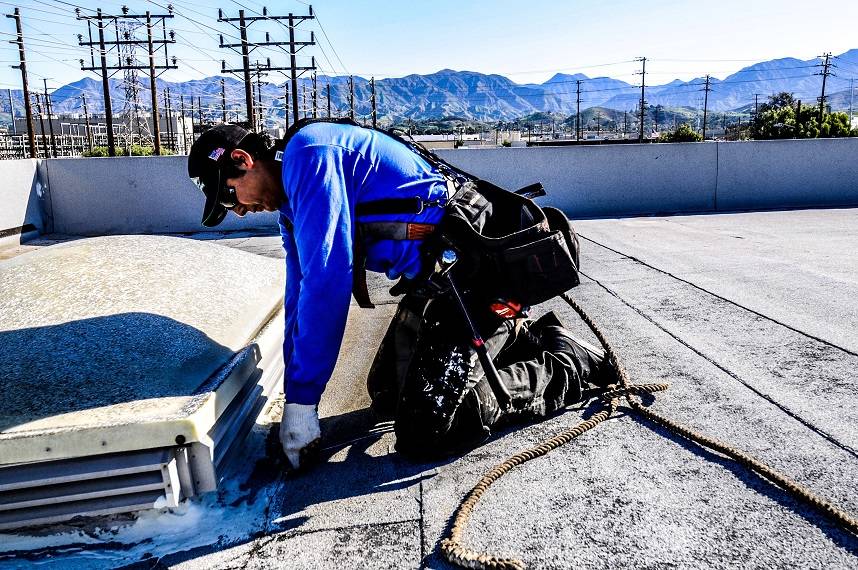
Commercial Skylights, just like residential skylights, are great for letting in natural light and fresh air into your building. And they’re also prone to leaks, which can cause damage to your roofing material and interior walls. If you have a leaky skylight on your commercial roofing system, you’ll have to treat it a bit differently than you would a residential roofing skylight. Continue reading, we’re going to show you how to fix that leak in 9 easy D.I.Y steps.
The Commercial Roofing Skylight Basics.
You might not realize it at first because it hardly rains in Los Angeles, CA
In order to fix the leaky skylight on your commercial roof, we first need to know what is causing the leak in the first place.
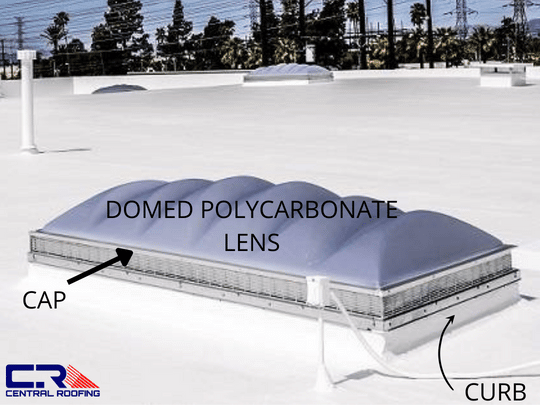
But before we get into that, you should know the basic anatomy of a skylight. Here it is:
There are 3 parts to a skylight:
- Curb section – this is normally a wooden frame that is approximately 6 inches in height and placed over the opening of a roof.
- Lens [Polycarbonate] section – this is placed on top of the curb and held in place with a metal frame and gasket.
- Metal or plastic flashing – this gets wrapped around the curb so the roofing material can be secured to it to form a watertight seal.
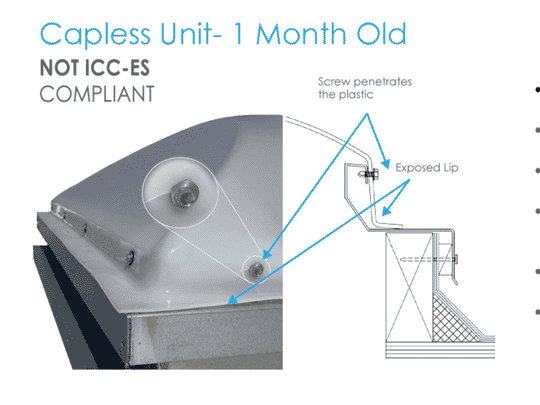
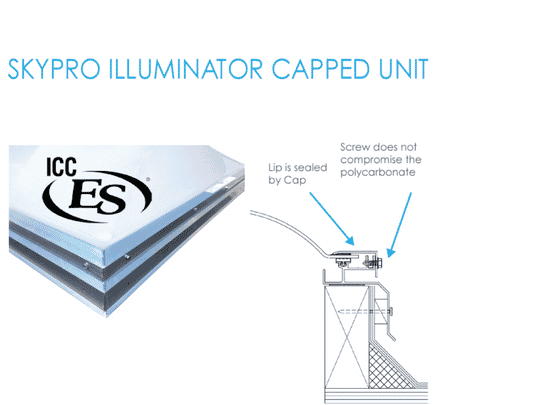
Capped Vs Capless Domed Commercial Skylights.
Industrial Skylights per regulation must be capped. If you find that you’re skylight is capless, then you might want to get the skylight replaced. Not only because capless is not up to code, but because fixing a leaky capless skylight will only be a temporary fix.
Fixing The Skylight Leak.
Leaks can be complicated and hard to find. Sometimes it’s best to call a commercial roofer to take a look and find the leak. But the most common reasons are the age of the polycarbonate lens itself and the flashing.
If you do notice a gap or a hole that is causing a leaky skylight, here’s what you have to do.
Safety First.
Finally, getting on a roof is not as safe as it might seem. Falls are pssible, and a fall from 6 feet has the potential to kill. Humans are just not built to take impacts well, resulting in a lot of damage and usually death. There are several news reports every year of people (even firefighters) falling through skylights to serious injury or death. Even being near your skylight is dangerous without safety equipment and training. Skylights afford a false sense of security because you feel like the skylight will support you. In most cases, it will not.
DO NOT SIT, STEP, OR WALK ON THE SKYLIGHT.
Step 1. Clean The Leaky Skylight.
Using a wet rag clean off the skylight frame all around the skylight lens. This will help the seal stick and prevent any more leaks after you apply the seal. Which we will get to next.
Step 2. Mask Tape All Around the Skylight.
After the skylight is cleaned off and because you want to do a clean job when you seal the leaky skylight. Apply masking tape all around the skylight.
Step 3. Apply A Silicone Sealant.
Apply one coat of Silicone Seal liberally, covering the glass and frame. Silicone sealants appear to work the best. Apply the silicone liberally all around the skylight.
Step 4. Embed Polyester Fleece into the Silicone Seal.
Embed Polyester Fleece into the Silicone Seal, making sure to cover the metal and glass equally. The fleece is going to reinforce the sealant to help prevent leaks from the skylight.
Step 5. Add A Second Layer Of Silicone Sealant On Top Of The Fleece.
Add a second coat of Sealant over the Polyester fleece. Make sure that no fleece material is visible.
Step 6. Remove The Masking Tape.
Remove the masking tape from around the skylight that you applied in step 2.
Step 7. Check Your Work 24 Hours Later. Apply 3rd Coat of Silicone Sealant if necessary.
After 24 hours make sure to go back on top of the commercial roof and check your work. Look for a smooth transition between the skylight glass and the metal frame, and make sure the sealant is completely dry. If necessary for stubborn leaks or you still see a gap, you may need to apply a 3rd coat of the silicone sealant.
Step 8. Caulk Any Gaps In The Flashing.
If you find any gaps in the flashing area of the skylight. You’ll need commercial-grade caulking to caulk the gaps in the flashing area. The caulking brand that we use here at Central Roofing is Sikaflex caulking.
So, knowing how to fix your skylight is one thing, but actually doing it and reaping the rewards is another.
But don’t worry, we’re here to help.
I’m Andy, and I’ve been where you are.
I understand the struggle of dealing with constant leaks coming from my skylights and commercial roof.
That’s where my company Central Roofing comes in. A place where property managers, facility managers and building owners can count on to fix all of their commerical roofing issues.

Want to see how we can help you with your leaky skylights?
Benefits You Can Expect
Testimonials
Let’s Fix Your Roof Right — Get a Free Estimate Today
Serving Los Angeles & Orange County for 30+ years.
Trusted. Local. Professional.
Central Roofing Company Headquarters
555 W. 182nd Street
Gardena, CA 90248
📞 310-527-6770
Get A Quote
One of our roofing estimators will gladly meet you to discuss your options and follow up with a free, no-obligation, written estimate.
At Central Roofing Company, we understand that a sturdy and reliable roof is crucial for the success and safety of your commercial property. Our team of highly skilled and trained roofing professionals is committed to delivering exceptional craftsmanship and superior service in every project we undertake.
555 W. 182nd St. Gardena, CA 90248
Ph: 310-527-6770
Our Office Locations:
Our Services
CA license #684960 – Central Roofing, 2025 ©All Rights Reserved | Terms of Use | Privacy Policy | Built by Dymic
